09 March 2016

Firing Complete


I've now completed the glaze firing of the last of my special project pieces...

Here is a pic of the top shelf - there are a few pieces on the other side of that cone shaped bead holder (they are not beads but are glazed all over) and the rest are on bead racks on the lower shelf.


the nichrome and kanthal wire that I use to fire beads and special pieces becomes discoloured in the high firing...


To bring them back to a nice silver colour I had a wonderful tip from bead maker extraordinaire, Carolyne Brennan  of Hot Dot Designs.  Carolyne suggested I use gilders paste and it has worked a treat.

showing discoloured wire loop


First I sand any loose metal particles off the wire using wet and dry sandpaper

gilders paste mixed with a small amount of low odour Turps


Then I paint on the gilders paste and the next day I can buff it up to a nice shine.

Fiddly but worth the effort..

I'll post an after shot in my next post...

Edit: Linda hadn't heard of gilders paste which is used mostly by metal jewellery makers so here is a pic... as you can see it comes in different colours


01 March 2016

Nice to be included in the Clay Blog Review

The Clay Blog Review over on Pottery Making Info has included one of my posts in the January Review under their Process and Techniques section.

Lovely ..

http://www.potterymakinginfo.com/news/clay-blog-review-january-2016/#more-2737

26 February 2016

I blew it

You just can't rush the clay...

I had this bead rack all made and ready to bisque fire...


But when I opened the kiln it was a mess -


The joins were a bit thick where I wanted the uprights supported and I guess they just were not fully dry.  The water expands inside the clay and this can be the result...

Lesson learned.

On a brighter note the special project pieces are fine and will just need a good clean before glazing.


21 February 2016

Initial stages of project complete, a bead rack and nature's wall feature

This week has seen the completion of the soft clay part of my project completed with 90 individual pieces pressed moulded.  Each of those 90 is made up of two pieces and then details are applied and a metal loop inserted to allow each one to be suspended.  They are suspended during the glaze firing which allows glaze all over and will be fitted with jewellery findings and suspended again for presentation.

hidden secret mould and tools

When I glaze fired the last batch I ran out of space on my bead racks so decided I had better make another one.

previously used bead racks.. some slab some wheel thrown types

making the slabs
I have found that the slab built type takes up less space on the shelf while allowing for a double row of suspended pieces.
New bead rack on top shelf. Cones on adjoining shelf

the ones I made originally didn't support the wire well enough (it softens at the high temperatures) so this one is a little longer overall but has a support in the centre...

Slabs are tricky when you don't make with them on a regular basis... I've managed to bend them a bit so I hope they don't bend any more in the firing.


These pots have come through the last two glaze firings and I should have them ready for sale with the Port Hacking Potters Group on Thursday 25 February at Sutherland Hospital in the foyer from 9am if you are in the area. (ready for sale means their bottoms smoothed and then priced and listed).


We have had a relatively wet summer this year which makes a nice change from the past drought years.  The garden has gone crazy and the wall outside my studio has become a living wall installation... where did those ferns come from?  We haven't grown any fishbone fern for years.


13 February 2016

Back online and the project continues

We have been without internet at home for two weeks!

A thunderstorm in the area put out phones and internet and it has taken Telstra all this time to get us reconnected! We also needed to buy a new modem but we couldn't tell until they fixed the connection...

So that has meant no blogging and limited time on Facebook too...

But hey, we are back now...

The secret project continues...  I worked in the kitchen while the kiln was firing a bisque

working on the kitchen table... some handy tools, some bought and some gifts and some found


The bisque included some new bead rack type supports which I have coated with kiln wash today

The new ones are the taller cones in the middle of this picture..


 these are the first of the bottle pourers through the glaze firing


The rest of the pourers were in the latest bisque firing and I plan on glazing these and some of my special project pieces tomorrow.

The weather has dried out and warmed up again bringing out many extra flowers and ripening the berries on our palm trees and lillypilly trees


it makes for a colourful time in the garden..

fingers crossed for the next glaze firing and I've almost completed the initial making of the number of pieces needed for the special project...

24 January 2016

Secret project and bottle pourers

I am currently undertaking a secret project for a family event and it is proving to be a bit of a challenge.

I need to make 80+ pieces so the idea was to form a plaster mould and then I could press mould them all.  Only thing is the item is a replica of a popular toy however I found some ice cube trays of this toy and thought great, I'll form the plaster master in the tray and then form up the working mould...

There have been a few issues to overcome not least being the lack of suppliers open over the Christmas holidays, then the masters would not come out of the working mould even though I put extra layers of mould release on them...


But then I had a good look at the back of the iceblock tray and decided there was enough detail to cast the back of the tray.  It is one of those silicon trays and so too flexible to use as the working mould.  Anyway, things are now underway.


The finished pieces will be suspended so needed wire loops inserted prior to firing.  I had a go at making these using Nichrome wire... my first efforts above... fortunately my husband is very handy and took the wire to the garage to use his 'boy toys' and came back with some beautiful even loops.

So I now have ten prototypes ready.  I'll dry them slowly and fire them as soon as I can safely do so.  This means I need other pots to fill the kiln.

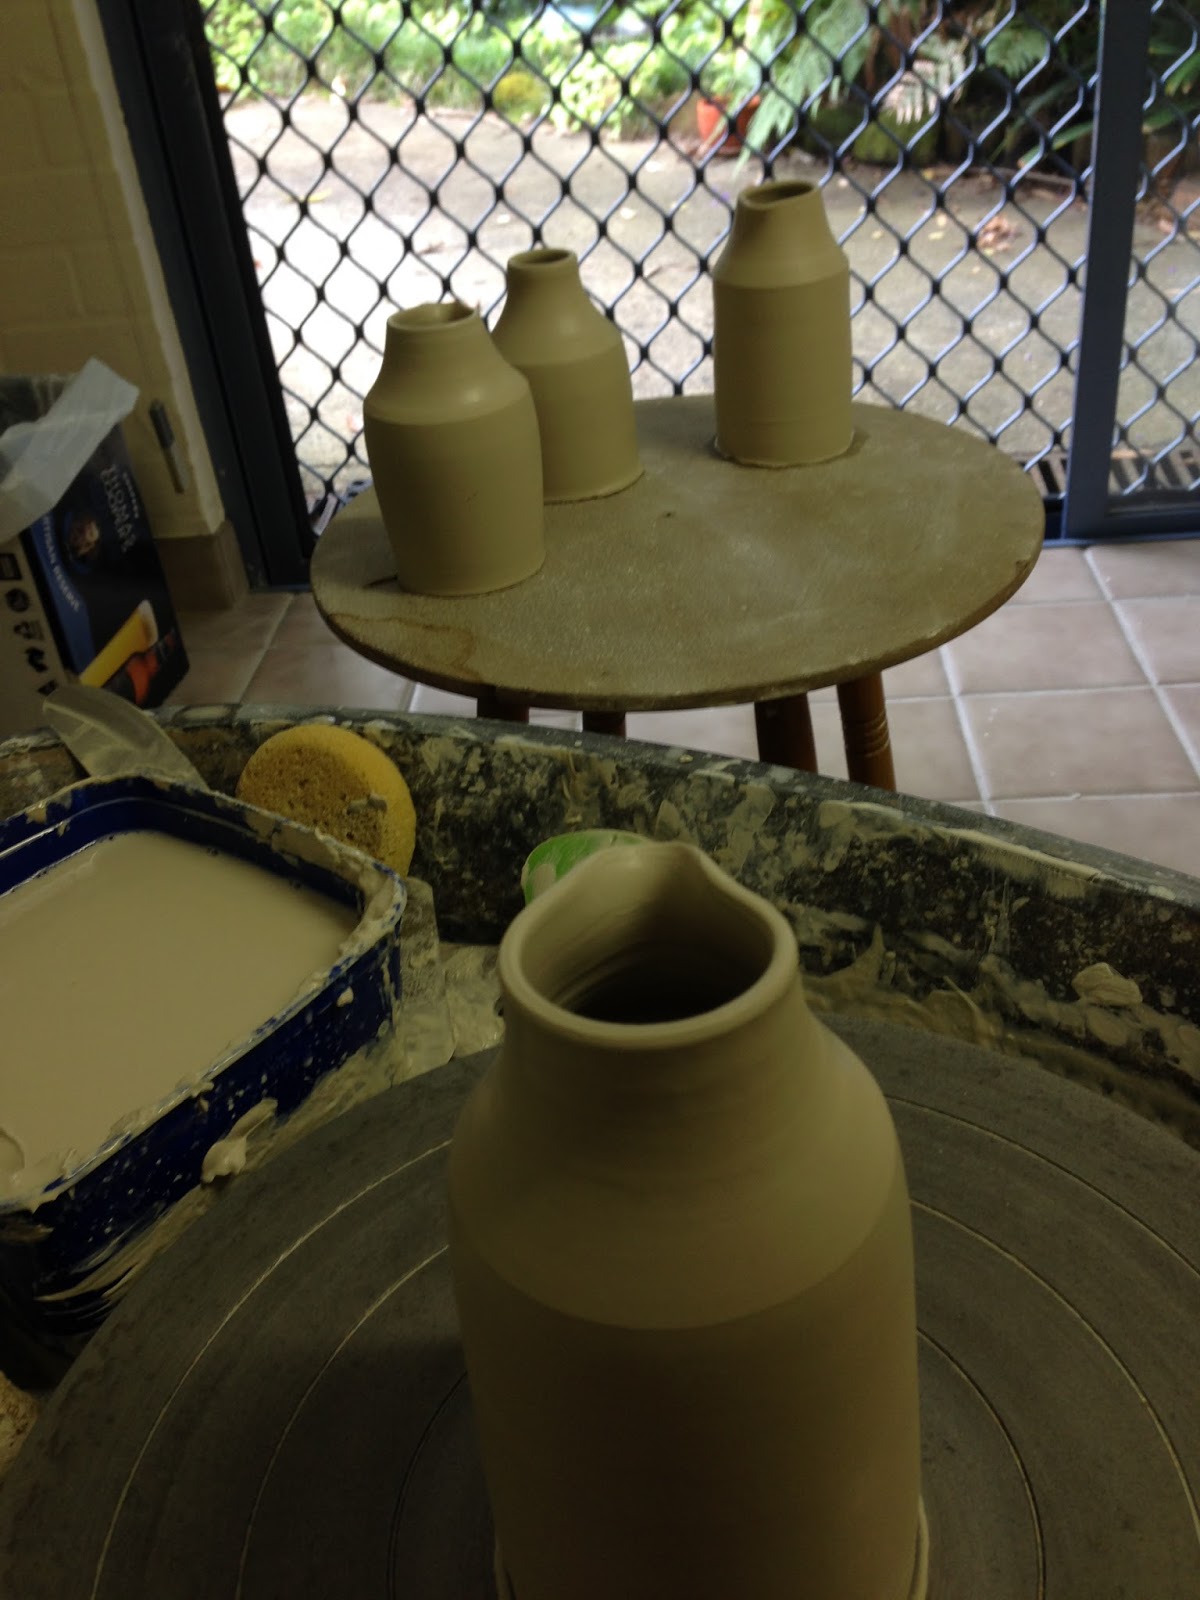
So today I've made some bottle pourers...


They range in weight from 400 gms to 700gms... this style can't be too big as there is no handle.

A little decoration coming up before they go in the kiln.


We also had a visit from the local wildlife today... 

He is a juvenile Eastern Water Dragon... they venture up from a nearby creek at this time of year to feast on the fruit that drops from our palm trees.  This one appears to be shedding skin.  They have pretty markings and can grow twice the size of this one...

Thanks for dropping by and I hope 2016 has started well for you...


18 January 2016

The trickiness of mould making

I have volunteered for a project for a family member for an upcoming event.

I don't want to spill the beans and say too much about it but to complete the work it would be easier if I had a plaster mould.

I have made several moulds while at college but for some reason this one is proving tricky.. it is a one piece mould and should be straight forward....

Never mind, I am progressing...  these shown here were extras as you always make more plaster than you think as it better to have some left over than not enough to fill the mould!


12 January 2016

Some recycling happening

After cleaning up the studio and washing out the clay bags, the next step was to recycle some clay...

First the dry clay is broken up into small pieces, then in a bucket covered with water and allowed to slake down.  It can be left for a day or so.  Once fully wet the clay can be mixed together and I then take handfuls and put the wet clay on plaster bats to dry to a workable consistency.

drying clay on the left - wedged clay on the right

closer view


wedged clay now ready for use
I use the cut and slam technique to work the clay up ready for use

This allows you to process larger amounts of clay than I would be comfortable wedging by other methods and brings the clay layers together. There is a good video here if you follow the link.... Van Gilder shows several techniques, the one I'm talking about is about 5 minutes in... https://youtu.be/hAOPlz3Bkgs

Once it's done I can reuse those washed bags to store it.


We had some rain recently and my native violets are loving it...


06 January 2016

Potters Wash Day

This image was very popular over on my Facebook page (https://www.facebook.com/AnnasCeramics/ )

I recycle the bags my clay comes in...as well as the clay itself.  Putting it back into the appropriate bag  helps me to keep track of which clay is which as it can be hard to tell when they are unfired. It also slows the rate of plastic going into landfill.


01 January 2016

Happy New Year 2016

First day of the new year and I've been having a clean up in the studio..

most of my old clay has now been broken down and is now slaking in these wonderful colourful buckets I found at our local Bunnings hardware store... they really brighten up the studio and though the lids are not air tight I think they should last well.

 In my family we wear something new for luck on the first day of the New Year.  My something new is this wildly patterned apron... just the thing for working with clay...


The next image is for my online friend, Linda Starr of Blue Starr Gallery who has admitted to being in the doldrums... Linda liked my previous image of a lavender pink Cosmos flower and I promised a pic of these much darker ones...


I find this week between Christmas and New Year a good time to catch up on my reading and I often borrow overseas ceramics magazines from my local library.. while reading this copy of the Ceramic Monthly I saw a cup I recognised straight away, the blue and white birdie cup on the bottom left is by the talented Adriana Christianson... this show is over now but it was great to see Adriana represented in this USA show at the Charlie Cummings Gallery.